Creating a Cryptocurrency Price Bot in .NET 5 (Core)
.NET Core, Bot, Cryptocurrency — Apr 22, 2021
In this blog post, we will be creating a bot that tracks the price of cryptocurrencies in real-time using the Binance WebSocket API. We’ll also create a simple price analyzer that sends an email alert when the price of a certain coin goes above a price point. The source code for this sample is located here.
Prerequisites
Make sure that you have an environment setup to run .NET 5 (Core), such as Visual Studio 2019, JetBrains Rider, or just Visual Studio Code with the C# Extension installed. A basic familiarity with C# and modern .NET Core is recommended.
Architecture
Our system will be designed with 3 core parts to make it easy to subscribe/unsubscribe to the WebSocket streams, to analyze price changes for multiple symbols, and notify the user once a price change is triggered.
BinanceWebSocketManager
- Subscribes and unsubscribes to WebSocket streams (Symbol updates)
- Contains a list of PriceAnalyzers and updates them on each stream tick
IPriceAnalyzer
- Analyzes a given Symbol for price changes
- Contains a list of NotificationServices and triggers them when a price hits a certain point
INotificationService
- Notifies the user when a specific price change has occurred.
- Example: Email, SMS, Desktop notification, Sound, etc.
A WebSocket connection is just a method to communicate in real-time over TCP, that way we can get price updates every second for the symbol we want by subscribing to the pairs we want. A symbol is an unique trading pair like BTC/USDT (Bitcoin/USDT) or ETH/USDT (Ethereum/USDT). USDT is a stablecoin that is pegged to the USD.
Getting started
Create a new Console Application (Core) either in your editor of choice or via the .NET CLI like this.
dotnet new console
We’ll be using the excellent Binance.Net NuGet package from JKorf which is a wrapper around the Binance rest and websocket api. But you could very easily change this package with other wrappers for Kucoin, Huobi, Kraken, etc. just make sure that they have a public websocket API. Otherwise you may need an API key.
Add the nuget package
dotnet add package Binance.NetCreating the WebSocket manager
Let’s create a new class called BinanceWebSocketManager.cs with the async method ConnectAndSubscribeAsync(). Also add an using statement for using Binance.Net; at the top.
public class BinanceWebSocketManager
{
    public async Task<bool> ConnectAndSubscribeAsync()
    {
         var client = new BinanceSocketClient();

         var connectResult = await client.Spot.SubscribeToSymbolTickerUpdatesAsync("BTCUSDT", (tickData) =>
         {
		    Console.WriteLine($"Last price for Bitcoin is: {tickData.LastPrice}");
         });

         return connectResult.Success;
    }
}
We’re connecting to the Binance spot market websocket, the spot market is where most of the trades happen on a centralized exchange like Binance, so we’ll be able to get an accurate real-time price for the cryptocurrencies we want.
Let’s test this simple implementation out to make sure we’re able to connect to the WebSocket.
Updating Program.cs
Taking advantage of C# 9 and top-level statements we can remove the entire block of code below.
using System;

namespace CryptoPriceBot
{
    class Program
    {
        static void Main(string[] args)
        {
            Console.WriteLine("Hello World!");
        }
    }
}
So that we’re only left with the using statement and writeline, let’s change the text to say ‘Starting bot…’ instead also.
using System;

Console.WriteLine("Starting bot...");
Then we create a new instance of our BinanceWebSocketManager.
using System;

Console.WriteLine("Starting bot...");

var manager = new BinanceWebSocketManager();

// Try connecting and subscribing for updates for Bitcoin price updates
if (!await manager.ConnectAndSubscribeAsync())
{
     Console.WriteLine("Unable to connect to websocket, quitting...");
     return;
}

// Keep the bot running until the user presses the 'q' key
while (true)
{
    var keyInfo = Console.ReadKey();

    if (keyInfo.Key == ConsoleKey.Q)
    {
        break;
    }
}
Note that we’re completely free to call async methods inside top-level programs.
Let’s run the program.
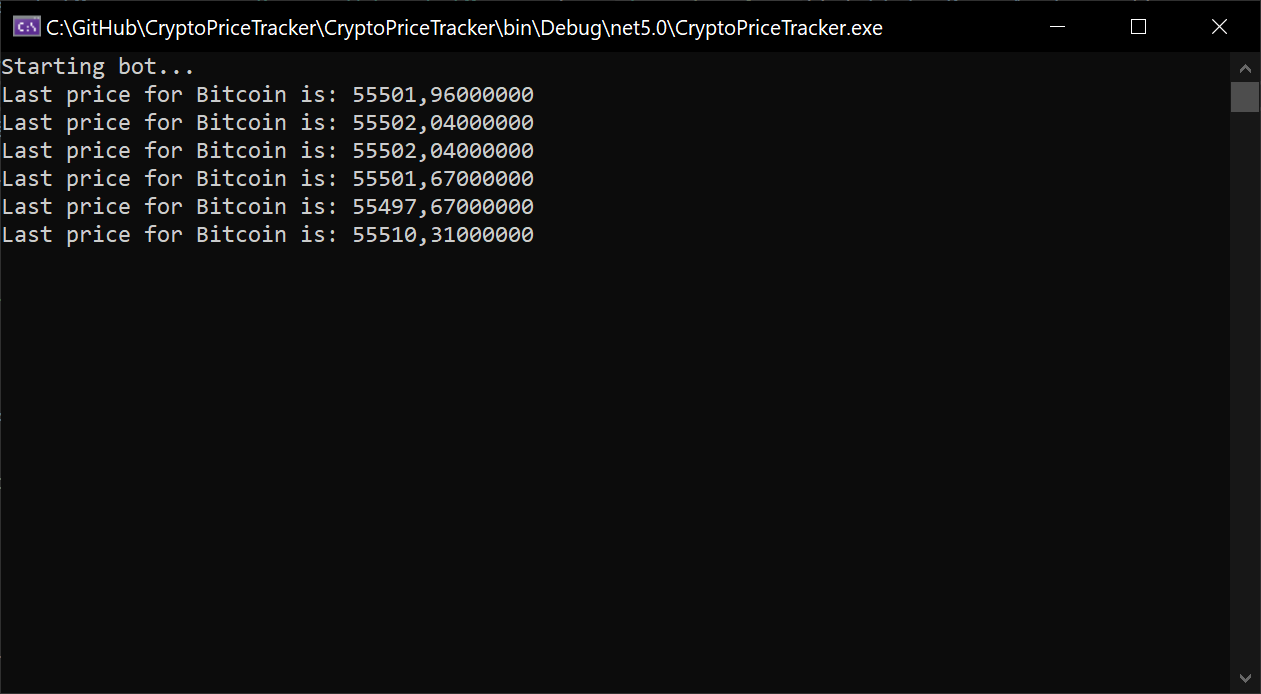
If we’ve successfully connected, we should be able to see the current price of Bitcoin update every second.
Creating a price analyzer
It’s time to make our application a little more useful, let’s start by creating an interface for our price analyzer so that we can easily create different types of analyzers.
public interface IPriceAnalyzer
{
	// Each analyzer will be attached to a given symbol
    string Symbol { get; }
    void OnUpdate(IBinanceTick tick);
}
And let us create a simple analyzer that alerts us when the price of a coin goes above a certain price level.
public class PriceAboveAnalyzer : IPriceAnalyzer
{
    private readonly decimal _abovePrice;

    // Implement the symbol property because the manager needs to know which symbols to subscribe to
    public string Symbol { get; }

    public PriceAboveAnalyzer(string symbol, decimal abovePrice)
    {
        Symbol = symbol;
        _abovePrice = abovePrice;
    }

    public void OnUpdate(IBinanceTick tick)
    {
        // For now let's just write to the console once our condition is met
        // We'll change this to send an email in the next section once
        // we've implemented a notification service for it
        if (tick.LastPrice > _abovePrice)
        {
            Console.WriteLine($"The price of {Symbol} is above {_abovePrice}! Price: {tick.LastPrice}");
        }
    }
}
Updating our websocket manager to support price analyzers
Let’s take in a List<IPriceAnalyzer> so that we can support as many price analyzers as we want for our application.
public class BinanceWebSocketManager
{
    // Let's move the BinanceSocketClient up here so we can clean up the subscriptions when we're done
    private readonly BinanceSocketClient _client;
    private readonly List<IPriceAnalyzer> _priceAnalyzers;

    public BinanceWebSocketManager(List<IPriceAnalyzer> priceAnalyzers)
    {
        // Throw an exception if the list is null
        _priceAnalyzers = priceAnalyzers ?? throw new ArgumentNullException(nameof(priceAnalyzers));
        _client = new BinanceSocketClient();
    }
...
Then we update the ConnectAndSubscribeAsync method to support multiple subscriptions.
public async Task<bool> ConnectAndSubscribeAsync()
{
    // Iterate over a list of all the unique Symbols to watch for price changes
    foreach (var symbol in _priceAnalyzers.Select(x => x.Symbol).Distinct())
    {
        // Subscribe to the WebSocket stream for the Symbol
        var result = await _client.Spot.SubscribeToSymbolTickerUpdatesAsync(symbol, (tickData) =>
        {
            foreach (var analyzer in _priceAnalyzers)
            {
                // Call update if the symbol matches the current subscription
                if (analyzer.Symbol == symbol)
                {
                    analyzer.OnUpdate(tickData);
                }
            }
        });

        if (!result.Success)
        {
            // If one of the subscriptions fail to connect, we just cleanup and return false
            await _client.UnsubscribeAll();
            return false;
        }
    }

    return true;
}
The preceding code finds a list of unique symbols to watch and subscribe to for real-time updates. When the update occurs we iterate over all our analyzers to find matching symbols and call the OnUpdate method for the analyzer. If any of the subscription fails, we just unsubscribe from any connections that were made and return.
Updating Program.cs and adding our PriceAboveAnalyzer
We now need to update the creation of our manager inside Program.cs to use our new PriceAboveAnalyzer, and we can add as many analyzers as we want. We’ll add one for Bitcoin and one for Ethereum on the pairs BTC/USDT and ETH/USDT.
// Our new constructor takes in a list of IPriceAnalyzer's
var manager = new BinanceWebSocketManager(new()
{
    new PriceAboveAnalyzer("BTCUSDT", 56624),
    new PriceAboveAnalyzer("ETHUSDT", 2447)
});
With C# 9 we can use new() target-typed new expressions to avoid having to write out the type of the list in the constructor.
Running the program now should give us a message in the Console if the price of Bitcoin goes above 56624 or the price of Ethereum goes above 2447. You can use CoinGecko to find an appropriate price point.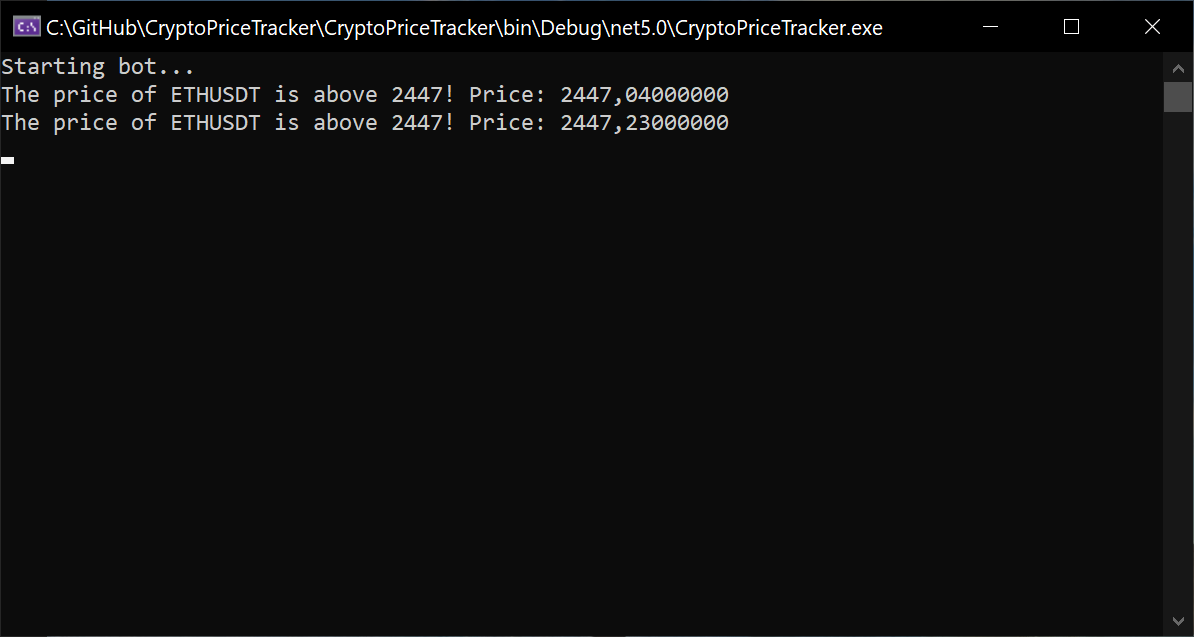
Notifications
Just like with the analyzer, we want to have different types of notification services so let’s setup a simple interface.
public interface INotificationService
{
    bool Notify(string message);
}
Sending an email when our analyzer is triggered
To send an email we’ll be using the cross-platform and robust MailKit / MimeKit to send an email via SMTP. Although it would be easy to use something like SendGrid instead. Just be aware that their free tier tends to get blocked by outlook or gmail pretty often.
Adding the MailKit nuget package:
dotnet add package MailKit
Let’s start by creating our SmtpEmailNotificationService
public class SmtpEmailNotificationService : INotificationService
{
    // Make sure to change this to either your outlook email or gmail that you want to use.
    // You can also create a completely new email address to be extra safe
    private const string FromAddress = "fakemail@outlook.com";
    private const string FromName = "Bobby";

    private readonly string _toAddress;

    public SmtpEmailNotificationService(string toAddress)
    {
        _toAddress = toAddress;
    }

    public bool Notify(string message)
    {
        throw new NotImplementedException();
    }
}
We start by setting up the sender’s name and email address as constants, taking in the recipient’s address as a parameter in the constructor. Make sure to change these to match your email and name, this example will have addresses for both Outlook and Gmail. But any SMTP server can be used.
After that, we’ll start implementing the actual sending of the email by using MailKit.
using MailKit.Net.Smtp;
using MimeKit;
Add these using statements to the top of the file, make sure you’re using the SmtpClient from MailKit and not from System.Net.Mail.
public bool Notify(string message)
{
    try
    {
        var mimeMessage = new MimeMessage();
        mimeMessage.To.Add(new MailboxAddress(FromName, _toAddress));
        mimeMessage.Subject = message;
        mimeMessage.Body = new TextPart { Text = message };
        mimeMessage.From.Add(new MailboxAddress(FromName, FromAddress));

        using var client = new SmtpClient();
        // Change the address to 'smtp.gmail.com' if you want to use gmail instead.
        client.Connect("SMTP.office365.com", 587, options: MailKit.Security.SecureSocketOptions.StartTls);

        // Authenticate with outlook/gmail, change the password!
        client.Authenticate(FromAddress, "changeme");
        client.Send(mimeMessage);
        client.Disconnect(true);

        return true;
    }
    catch (Exception)
    {
        return false;
    }
}
Make sure to update the password used to authenticate to the server.
Security note: You should never store passwords in cleartext inside a program other people have access to because it’s very easy to reverse-engineer a .NET program to read the password and other sensitive information, I’ve done so here just to keep the example simple. Consider using the UserSecrets package.
Add the notification service to our PriceAboveAnalyzer
Then we add a list of INotificationService to our analyzer so that we can add our newly created SmtpEmail notifier. We also add a boolean so that we only send the email once. You could also add a timed cooldown, so the trigger won’t fire off and email rapidly.
public class PriceAboveAnalyzer : IPriceAnalyzer
{
    // New
    private bool _hasFired = false;
    private readonly List<INotificationService> _services;

    private readonly decimal _abovePrice;

    public string Symbol { get; }

    // New
    public PriceAboveAnalyzer(string symbol, decimal abovePrice, List<INotificationService> services)
    {
        Symbol = symbol;
        _abovePrice = abovePrice;
        // New
        _services = services ?? throw new ArgumentNullException(nameof(services));
    }

	...
And we need to update our OnUpdate method to call the notification services when the price change is triggered.
public void OnUpdate(IBinanceTick tick)
{
    if (!_hasFired && tick.LastPrice > _abovePrice)
    {
        _hasFired = true;

        var message = $"The price of {Symbol} is above {_abovePrice}! Price: {tick.LastPrice}";

        foreach (var service in _services)
        {
            // Todo: Verify that the email was actually sent.
            service.Notify(message);
        }

        Console.WriteLine(message);
    }
}
Use the notification service
For the final touch, we update the construction of the analyzer to take in our SmtpEmailNotificationService.
var manager = new BinanceWebSocketManager(new()
{
    new PriceAboveAnalyzer("BTCUSDT", 55300, new()
    {
        new SmtpEmailNotificationService("my-email@outlook.com")
    }),
    new PriceAboveAnalyzer("ETHUSDT", 2529, new()
    {
        new SmtpEmailNotificationService("my-email@outlook.com")
    })
});
Make sure to update the recipient’s email address as well as the price points.

And as we can see, we’ve received an email when the price went above $55,300!
Closing
We’ve set up a simple and extensible bot for creating all kinds of price analyzers and notification types. We made an analyzer that checks if the price is above a certain point for any cryptocurrency symbol. And we made a notification service that sends an email when the analyzer is triggered using MailKit and SMTP.
Furthermore, you could for example create an analyzer that notifies the user when the price of Bitcoin drops by 5-10% in the last 24 hours so that you can be instantly ready to buy the dip! And you could also create a notification service that sends an SMS instead of an email.
Hope you enjoyed my first post. The source code for this sample is located here.